22
[The previous articles can be found here: The retrospec – Introduction, Part 1 :: The retrospec – The Core Design, Part 2]
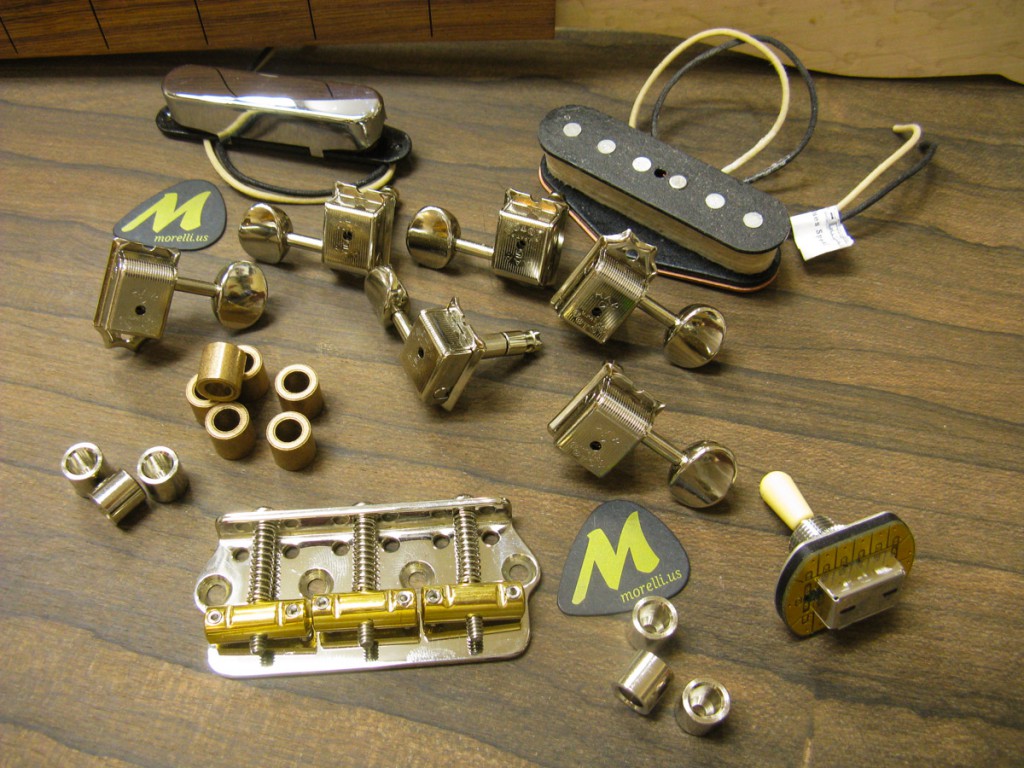
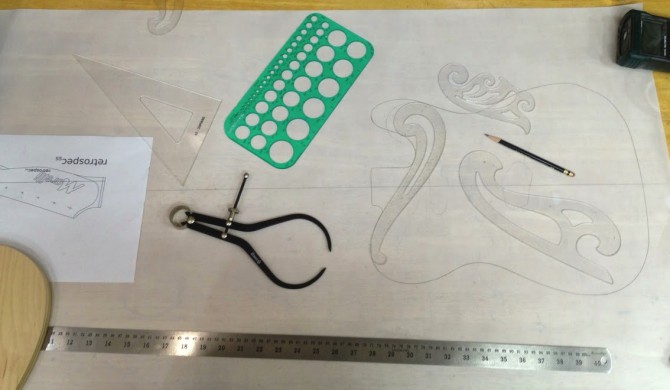
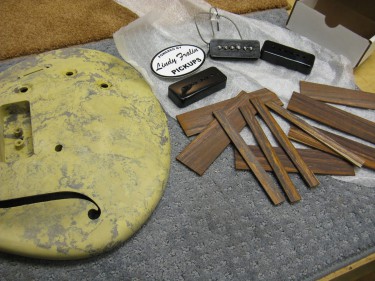
Sorting out the parts for the retrospec
Unlike a classical or steel string acoustic, electric guitars are chock full of electronic goodies and accessories. My uncle once told me that the more controls on an amplifier the less the chance you’ll ever find the sound you are looking for. I must say I’ve come to realize the wisdom in his comment.
But with that said, the retrospecss is an electric guitar so choices we must make. Thankfully this is one of several places where my co-conspirator, Saleh Sabat, is a whirling dervish of gear. So into the deep end of the pool!
From Tuners to Bridge
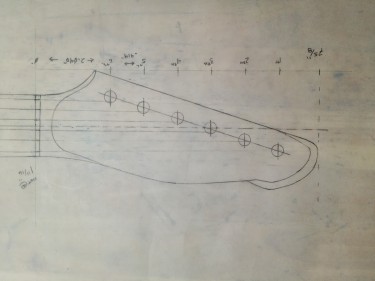
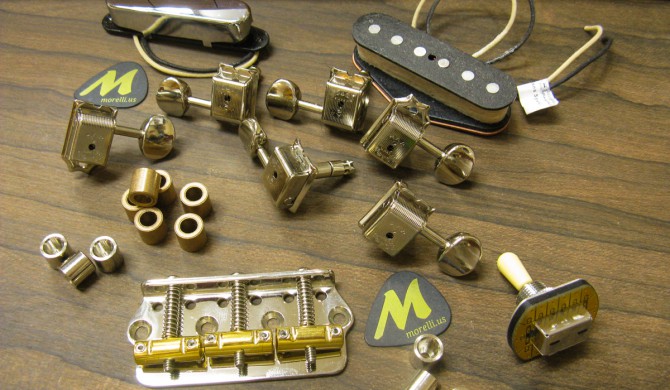
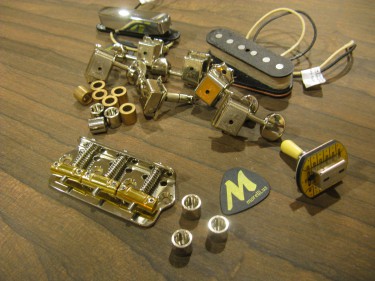
Let’s start at the headstock and work to the body. Telecasters, for the most part, have always had string trees. We opted to go with staggered Gotoh tuners, requiring no string trees. Tuners will be mounted without top nuts, but rather with the shafts sleeved and free floating in the headstock.
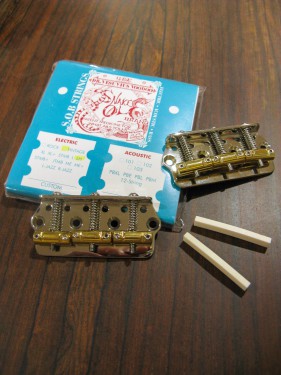
Snake Oil pure Nickel Strings with Buffalo Bone white nut material
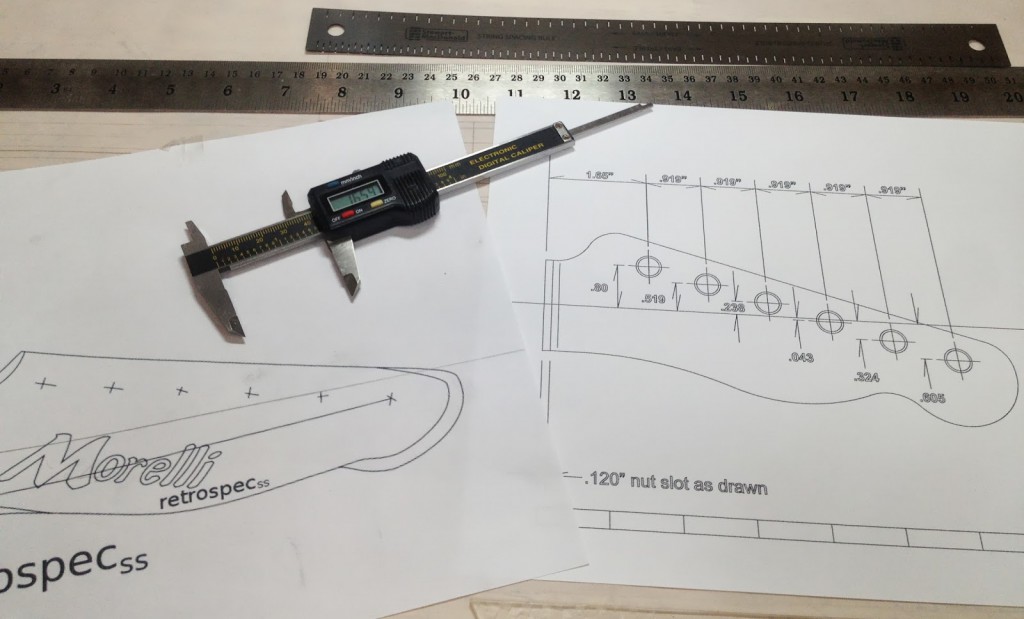
From the tuning shafts we mount pure nickel Snake Oil strings. As the strings come to the fretboard, they are supported by a white Buffalo bone nut, which is very hard. This is a small but important detail. The nut slots are polished and facilitate string bending. How so, you ask? We designed the headstock slightly longer than a stock Fender neck, then removed the string trees, ensured the string are a straight line from bridge to tuners.
We then went with the hardest nut material we could polish – all of this to create additional unencumbered string length behind the nut to ease string bending. These are the kinds of details we think about when spending six months designing a guitar!
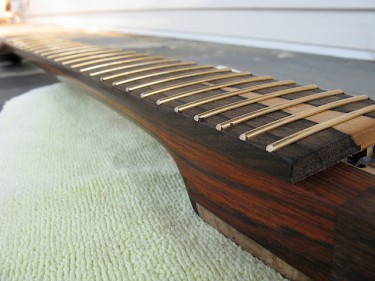
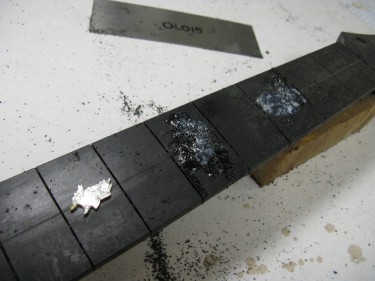
Evo wire on a Ziricote fretboard.
The strings make their way over Evo fret wire, which is a fairly new fret material made by Jescar. Evo wire is harder than regular nickel frets (better bends and better wear) but doesn’t feel different like stainless steel frets. A shiny gold color when new, Evo wire eventually oxidizes to a dull gold color which looks very attractive, both on maple necks and darker fretboards. Underneath the frets is a two way truss rod, which can be adjusted by removing the neck pickup backplate.
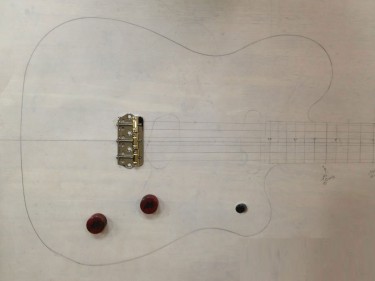
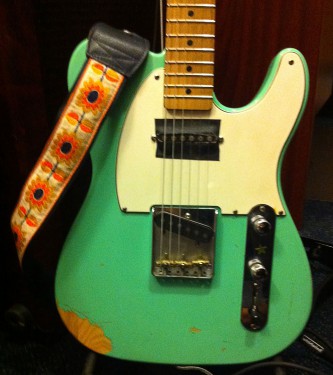
Finally at the body end, the strings crest the brass saddles of a Rutters Chopped Bridge. Machined from cold rolled plate steel, it is both elegant and tone enhancing. The strings finally pass through the body and are secured by flush mount chrome ferrules.
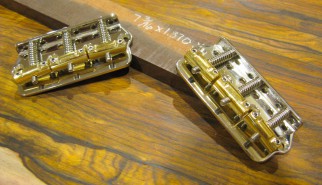
Custom steel bobtail bridge with compensated polished brass saddles
Unlike Fender guitars which mount the neck perfectly horizontal to the body, the retrospecss will have a mild neck back angle. This allows us to project a slightly higher string height over the saddles, which we find better contributes to the guitar’s tone. The added height will add a sixteenth of an inch of saddle height, without requiring a taller neck mount or higher neck pickup setting.
Pickups
The retrospecss is available with four different pickup configurations. The first will be the standard Telecaster bridge/neck pair. The second, a Nashville version which adds a third middle pickup and unique six-way toggle switch. The third configuration will be the minimalist’s guitar – a single bridge pickup. Finally a special Charlie Christian version of
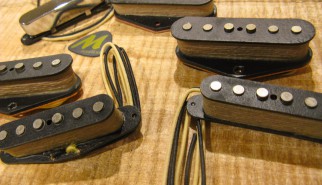
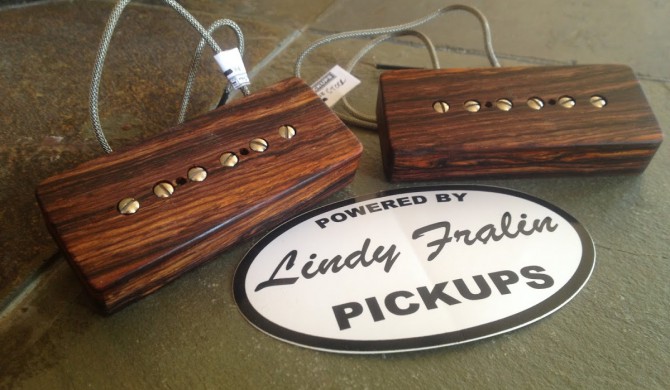
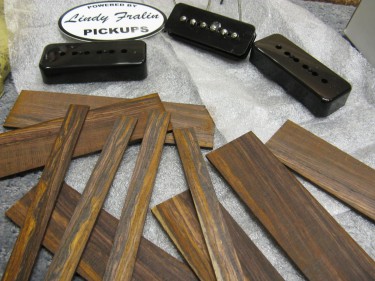
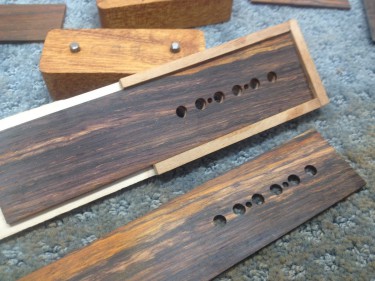
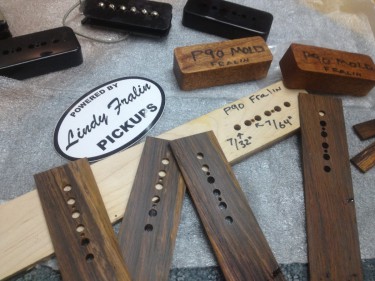
Custom wound pickups, specific to the retrospec
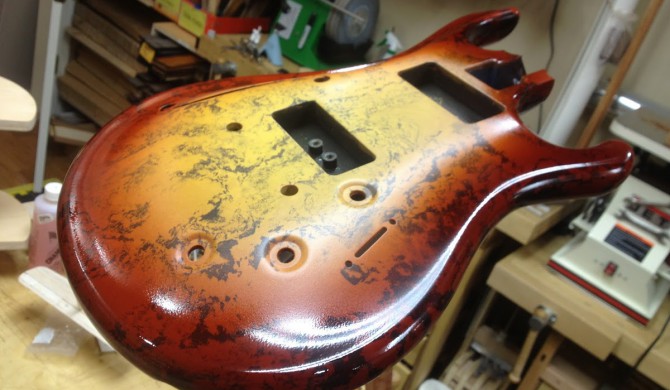
Unlike the Telecaster, our pickups will be rear mounted and rear adjusted. The front body routs will allow the top of the pickup to protrude through the body. The back plates will be made from the same body wood material, yet carrying more wood mass behind the pickup. The pickups will mount to the back plates and their height adjusted from the rear.
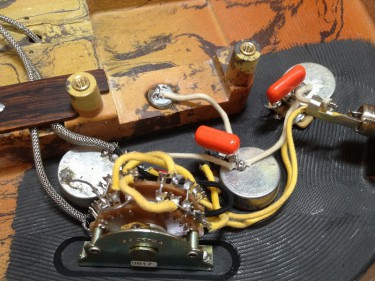
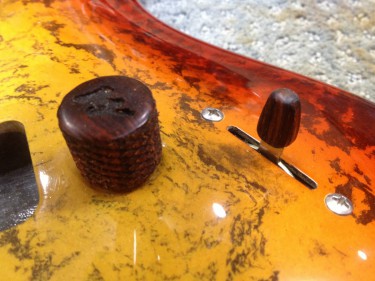
Electronics and Control Gear
High quality electronics are important to an accurate and well focused sound. The retrospecss starts with CTS pots with 10% tolerances. The tone pot is no-load, so it can be completely taken out of the circuit (along with the capacitor). Wiring is vintage cloth. The capacitors are oil filled, new old stock from Russia, which are known for great tone. The jack is Electrosocket mated to a Switchcraft jack, which is a far superior solution to the traditional Tele cup. Finally the switch is a 3 way toggle, as one would see on a Gibson, but still maintaining the round Telecaster style switch tip.
Like the pickups, the tone and volume controls will be mounted through the rear. Instead of being surface mounted, the front routs will allow for the knobs to protrude through the top. Controls will be mounted on an inner cavity plate, allowing the knob depth to be adjusted.